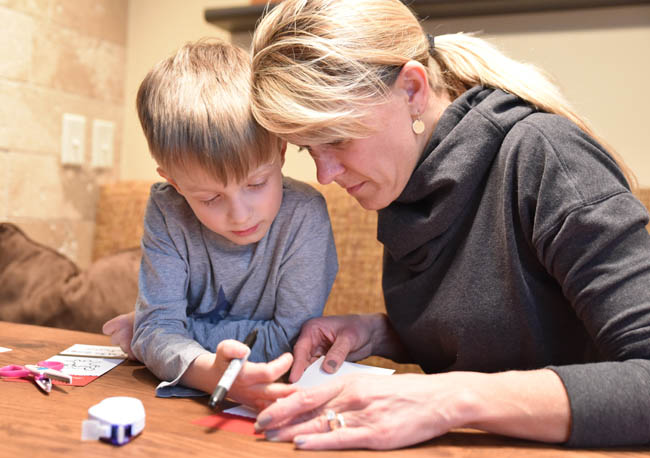
There were a whole lot of Valentine’s Day preparations going on at the Olson house this past weekend. Taylor’s classroom has a card exchange later this week and since handwriting is such a focus at his age, the teachers encouraged the parents to involve their children in the card making process. Although that required a bit more advance planning than I generally do, I will be loving it at about midnight the night before the party, which is usually when I am getting things ready for school events. 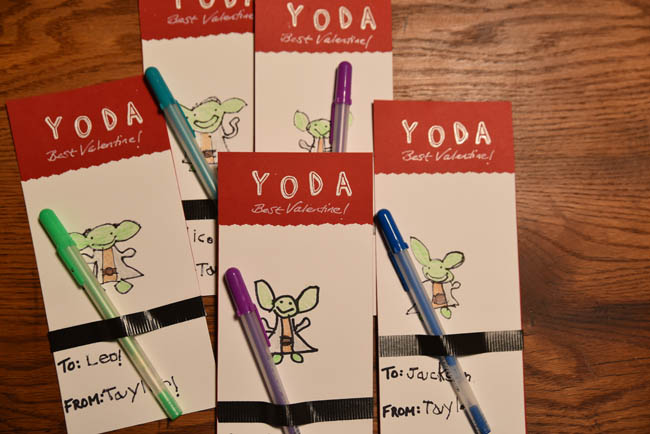 “Yoda Best Valentine.” A great card for a little boy that loves Star Wars, but one that is appropriate for all of the students in his class. Many classrooms don’t allow candy, so we opted to use these gel pens for Yoda’s lightsaber.
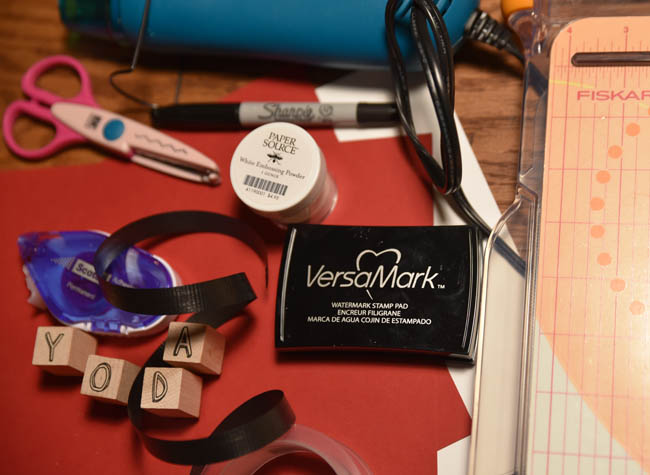 Materials include heavy card stock paper, *Fiskar’s paper cutter, stamps, watermark stamp pad, embossing powder, *embossing heat tool, ribbon, Scotch adhesive roller, decorative scissors, white gel pen, and a Sharpie. *These types of tools aren’t necessary, but they certainly make projects more efficient!
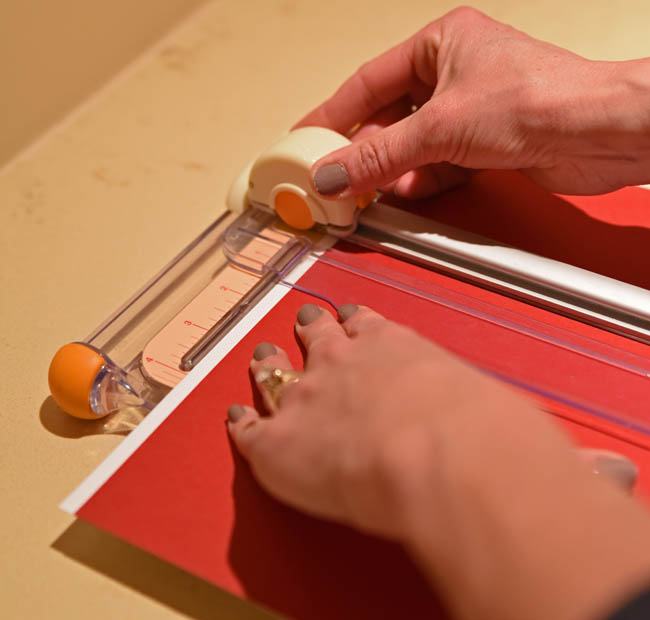 Cut the cardstock into thirds, stacking the red paper on top of the white.
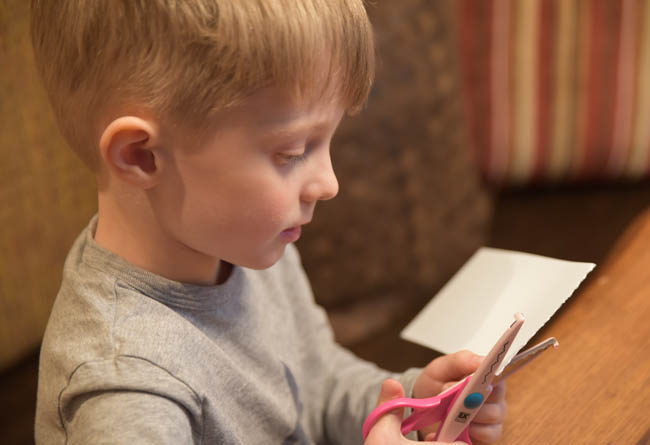 Cut the top of the white card stock with a beveled or decorative edge of some sort. Lots of kids’ scissors come in these types of styles, so it’s a great step that the little ones can help with while you prep other parts of the card.
 Secure the white paper on top of the red paper with adhesive, allowing for a few inches of the red at the top.
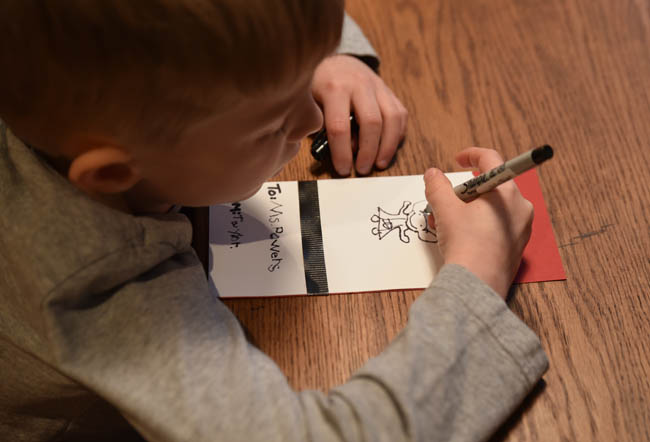
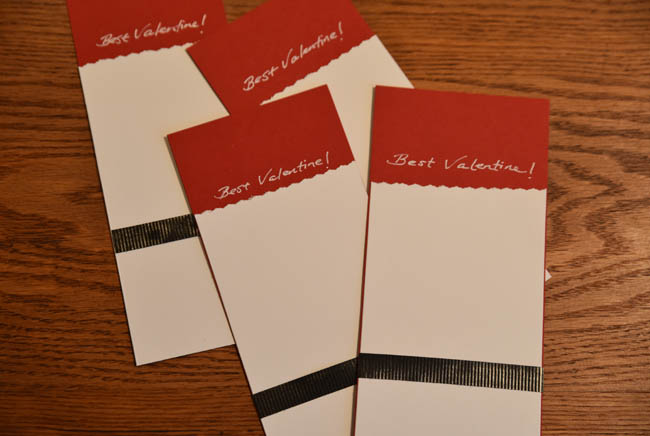 I finished prepping the cards by putting a ribbon on the bottom third to give Taylor a defined space in which to write the names (below) and to draw Yoda (above) on each of the cards.
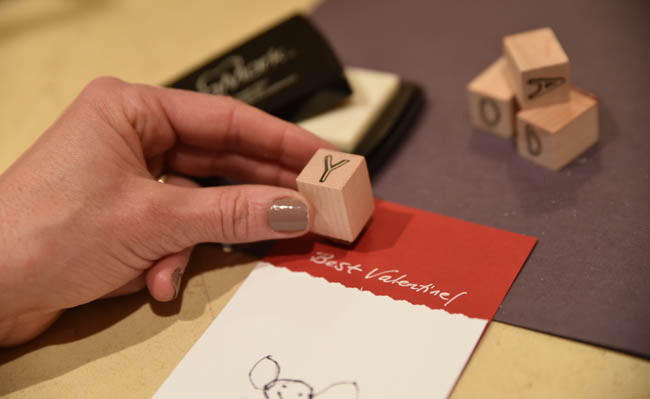
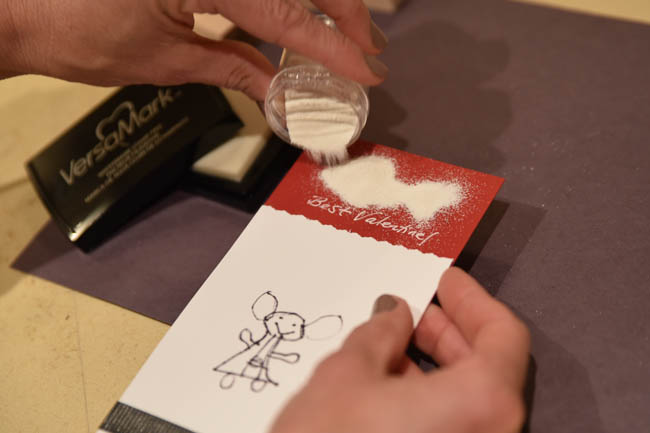 Pour the embossing powder on liberally.
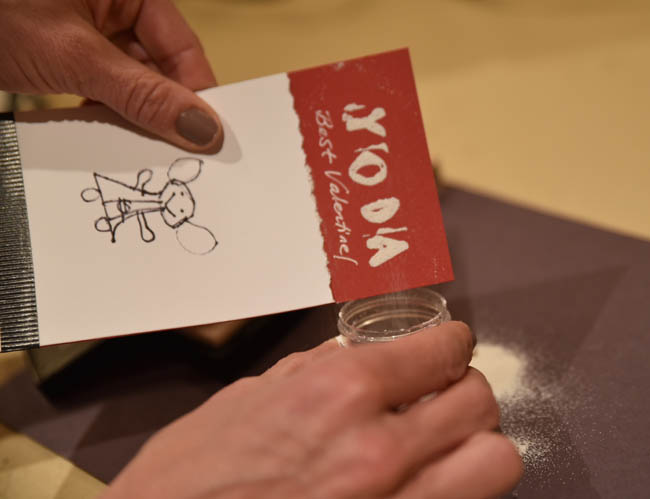 Pour the excess powder back into the small canister. Be sure to place a sheet of paper underneath your work surface so you can capture any loose powder.
 “Yoda Best Valentine.” A great card for a little boy that loves Star Wars, but one that is appropriate for all of the students in his class. Many classrooms don’t allow candy, so we opted to use these gel pens for Yoda’s lightsaber.
 Materials include heavy card stock paper, *Fiskar’s paper cutter, stamps, watermark stamp pad, embossing powder, *embossing heat tool, ribbon, Scotch adhesive roller, decorative scissors, white gel pen, and a Sharpie. *These types of tools aren’t necessary, but they certainly make projects more efficient!
 Cut the cardstock into thirds, stacking the red paper on top of the white.
 Cut the top of the white card stock with a beveled or decorative edge of some sort. Lots of kids’ scissors come in these types of styles, so it’s a great step that the little ones can help with while you prep other parts of the card.
 Secure the white paper on top of the red paper with adhesive, allowing for a few inches of the red at the top.
 I finished prepping the cards by putting a ribbon on the bottom third to give Taylor a defined space in which to write the names (below) and to draw Yoda (above) on each of the cards.

 Pour the embossing powder on liberally.
 Pour the excess powder back into the small canister. Be sure to place a sheet of paper underneath your work surface so you can capture any loose powder.
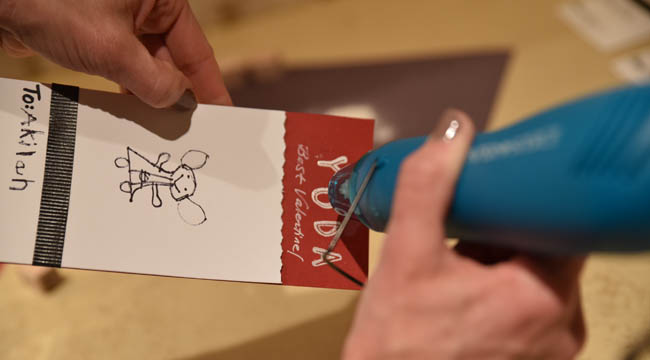
Set the powder and ink quickly, using the heat tool. I suppose a hair dryer could work as well, but would certainly take longer.
Reality Check. The Star Wars phase has been an interesting time for all of us. I’ve seen a level of disappointment in me by my husband that is somewhat disturbing. Like the other day when I referred to “Hans” Solo in a text, or when he proofed this post and read “light saver.”

Emily
February 10, 2015 at 6:50 pm (10 years ago)Wait it’s not Hans Solo and Star Troopers?
Kerry
February 11, 2015 at 12:05 am (10 years ago)Right? I think those sounds totally appropriate. But apparently VERY embarrassing (to Trevor).