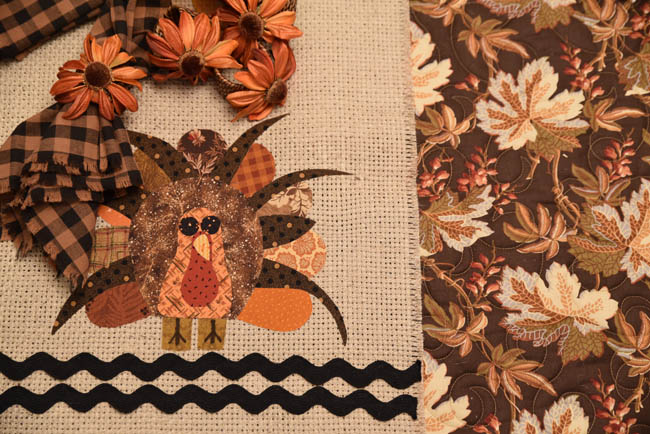
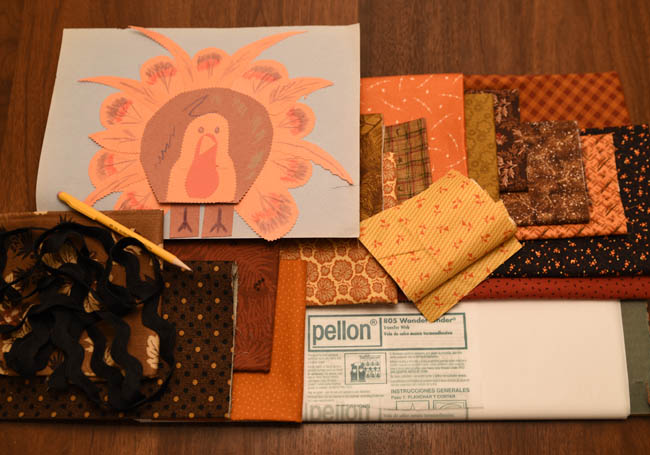
Materials needed: Child’s artwork, scissors, pencil, a long piece of fabric to use as the fabric runner, fabric scraps for the artwork, ribbon (for trim, if desired), fabric adhesive (we used Pellon, another common brand is Heat N’ Bond), and an iron.
Steps are included below, but please check and follow the directions on your particular brand of fabric adhesive.
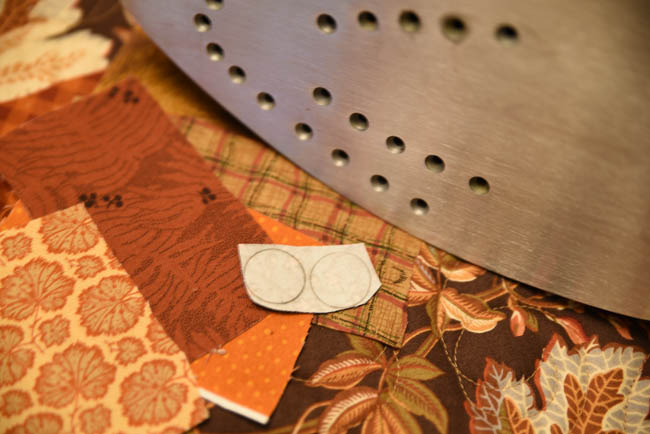
Step 1: Preheat dry iron to the silk setting. Place Pellon or Heat N’ Bond on the wrong (back) side of the fabric. Lightly glide iron across paper side for 1-2 seconds.
Step 2: Copy the image onto the paper side of the adhesive. Note that if you have items that you want to go in a particular direction (I don’t know, say that you really really want to turkey’s beak to face to the right), then you will need to draw that element of the design in reverse.* Carefully cut out design.
*Save yourself some confusion and frustration by picking a design that has elements that are symmetrical, so the direction doesn’t matter. I find that trying to do things in reverse is difficult.
Step 3: Allow the material to cool, then peel off the paper backing. The adhesive should appear milky in color. Shiny, clear adhesive is a sign of overheating.
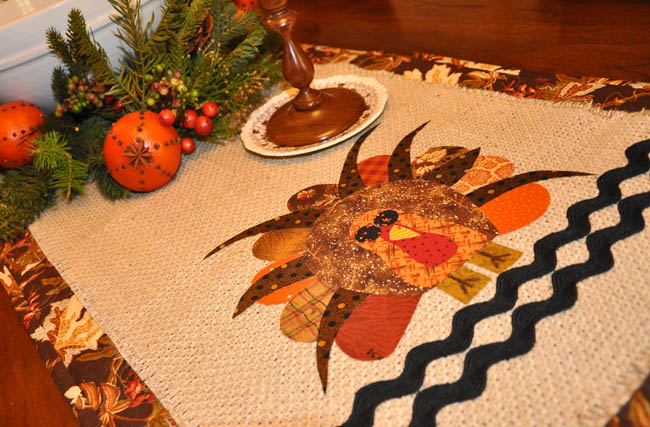
Step 4: Place the material right side up in desired position on the table runner and iron for 4-6 seconds. The ironing time may need to be increased for heavier materials.
Reality Check. It’s true, I do spend a lot of time thinking about ways to preserve kids artwork. I also spend a lot of time figuring out ways to throw away artwork without feeling guilty about it. Or worse, having them discover it in the garbage.


