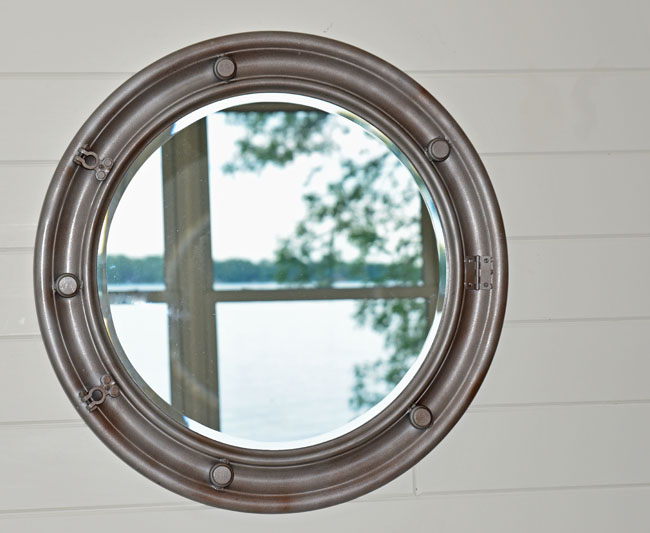
We rearranged our bedroom at the cabin this summer, which resulted in a blank wall directly across from the window overlooking the lake. I knew that I wanted to have a large mirror there, and thought it would be a great look for it to have a nautical theme. I shopped online for porthole mirrors, but the large scale ones (over 18″ or so) were in the range of $200 or more. I decided to go the DIY route, so I roamed the aisles of Home Depot and Michael’s to find items that I could use to replicate the look, using an inexpensive Ikea mirror as the base. I made a few mistakes along the way, but they ended up adding character to the finished piece (I love it when that happens). Materials and instructions below.
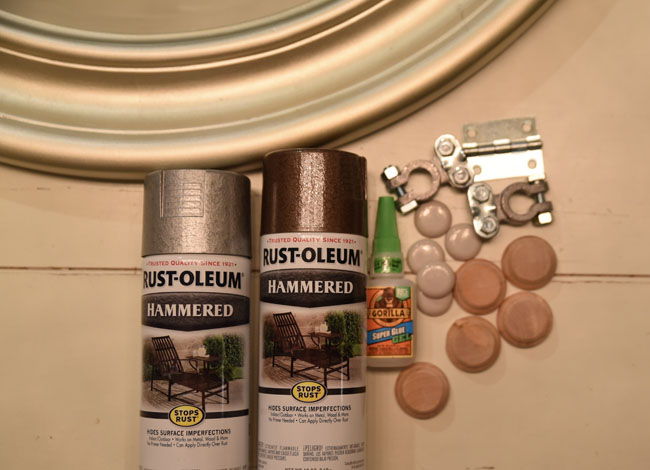 Materials: Ikea 28″ round mirror; 2 colors of hammered metallic spray paint; wood rounds (sold at craft stores); battery terminals (yes, car battery terminals); one hinge; and gorilla glue
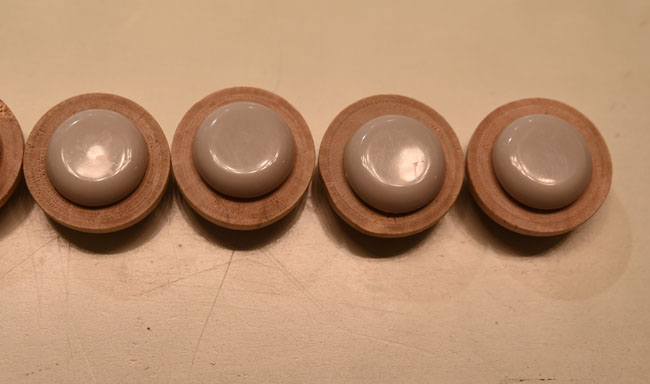 Mistake #1. The wood rounds I purchased were too large to fit in the ridge of the mirror’s frame, so I needed to build them up a bit with furniture pads. These have adhesive on the back so were easy to add. Once adhered to the back of the wood round, each piece had enough height to fit into the narrow part of the mirror’s ridge, and they ended up adding a nice dimension as opposed to simply flat rounds on the mirror.
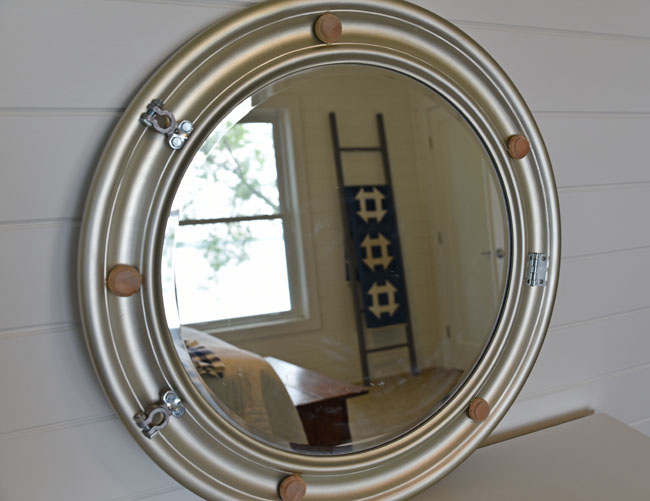 Step #1 (presuming you don’t need to “fix” your rounds like I did – in which case Mistake #1 was technically my Step #1). Add the accents to the frame. Place the battery terminals on the mirror and adhere with Gorilla Glue (I like the gel version). Glue the hinge directly across from the mid-way point between the two battery terminals. Add the wood rounds, with equal distance between, in the remaining space on the mirror’s frame.
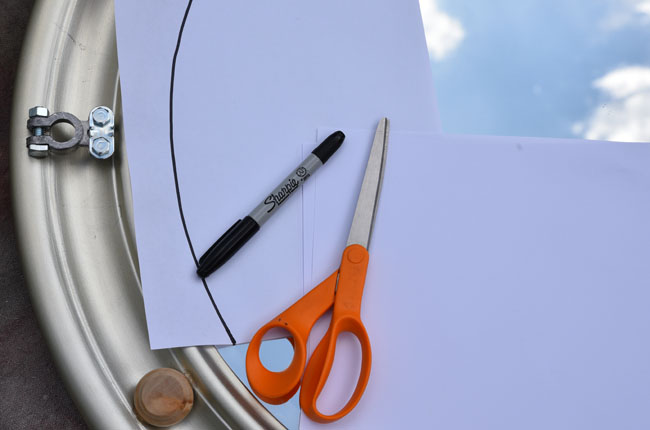 Step #2. Prepare the frame for painting. Protecting the glass when painting round mirrors is not an easy task. I place a piece of paper at the edge and trace in the crease, then cut and place on the mirror. I repeat around the full circumference, adding painters’ tape as I go.
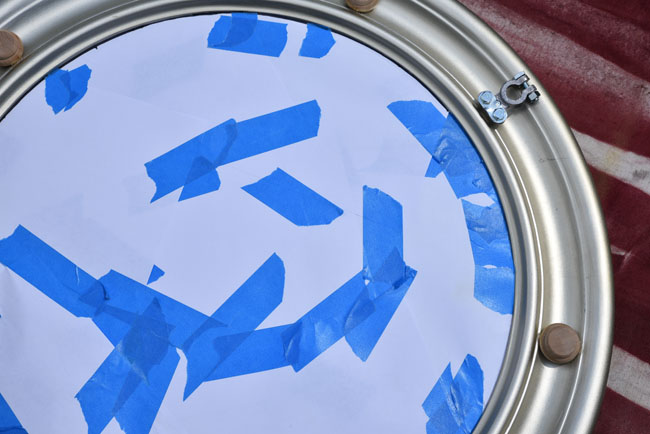 It’s not pretty, and to be honest it’s not even completely effective. Your best friend in this process will be a nice sharp razor blade. Paint will definitely sneak through some edges, but the razor blade removes it cleanly and easily.
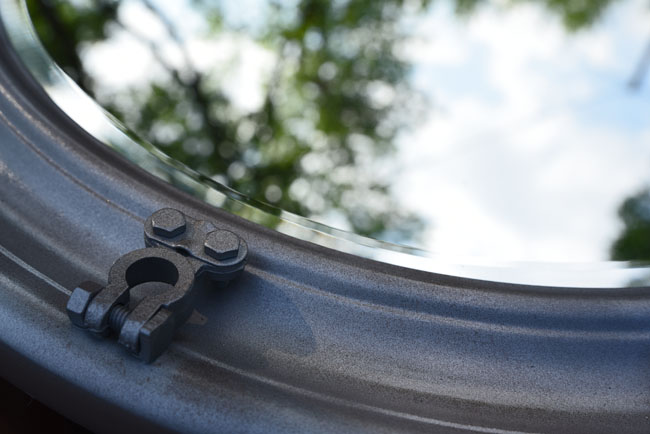 Step #3. Paint using a color or two of metallic hammered spray paint.
Mistake #2. I started with the silver color, then decided I liked the bronze better, then back to silver. The layering of the colors gave it a nice weathered look. I would definitely recommend layering two colors. Let dry and hang!
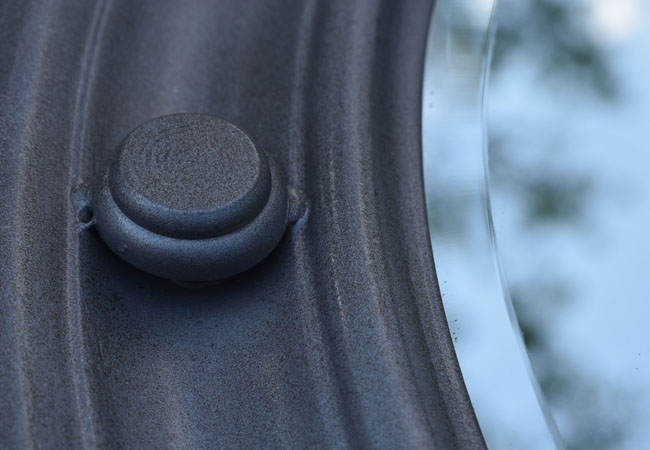 Mistake #3. I often go too heavy when using glue – I just never trust the label when it says that a little goes a long way. The Gorilla Glue seeped out the sides a bit, but it added an interesting welded look to the mirror.
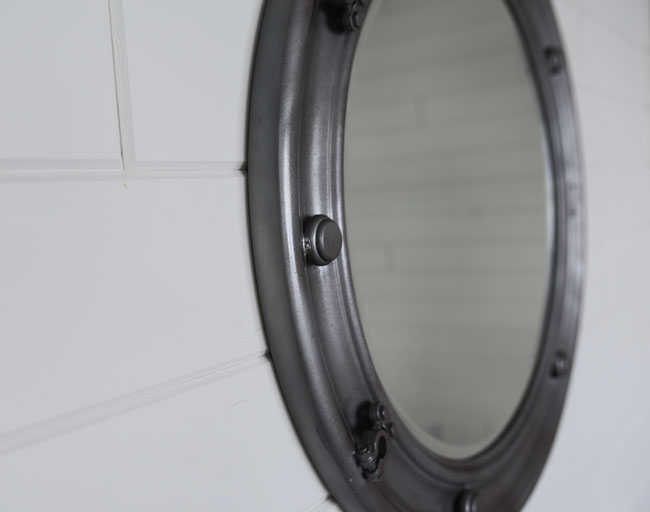 Reality Check. See above, mistakes 1, 2 and 3!

Lynette
June 26, 2015 at 11:07 am (10 years ago)Very, very creative and the end product is great. I think you have become the spray paint queen this summer.
Kerry
June 26, 2015 at 1:54 pm (10 years ago)Thank you! (; Yes, it’s been quite the summer of spray paint, and it’s only June!