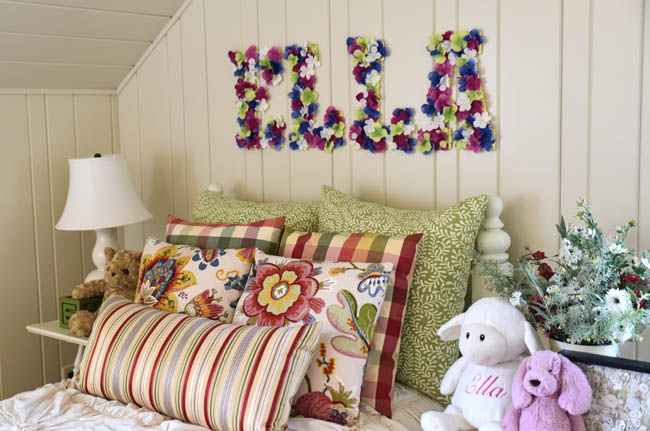
I made the mistake of telling Ella a few weeks ago that I was going to, for her big girl room, add letters to her wall just like her big bother has in his. I didn’t anticipate her being so excited about this, and she would ask, “my letters up yet?” every day when she got home from school. I had to think quickly of an idea. I love the look of the “Lake Life” letters I did for a previous project (link here) but I didn’t really want to duplicate it in her room. I also was tempted to purchase these from Anthropologie, but I wanted more color and something lighter – for ease of hanging and because I have a thing about placing heavy and/or glass things over my kids’ beds, as I’m worried they will ding around and knock something off the wall and onto their heads. If anyone is fact-checking and looks back on the post about Taylor’s room from several months ago (link here), yes, there are frames above his bed. But they are dang near bolted to the wall, and I pulled the headboard away, presuming that if they were knocked loose they will fall into the space between the wall and the bed. But I digress. I went with a floral motif for Ella’s letters, the materials and the steps for which are included below.
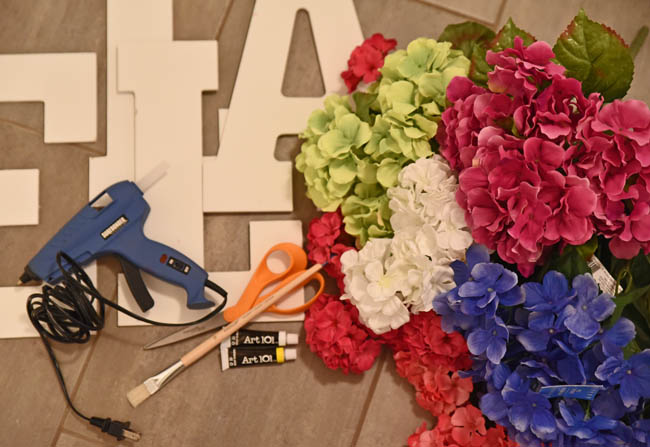 Materials needed (for the letters): lightweight wooden letters (I purchased these at Michael’s, link here); artificial flowers (I think the hydrangea blossoms are the best for this type of project and come in a variety of colors, also purchased at Michael’s); acrylic paint and brush; scissors; and hot glue gun. Materials needed (for hanging): painters’ tape; 3M Velcro mounting strips; level
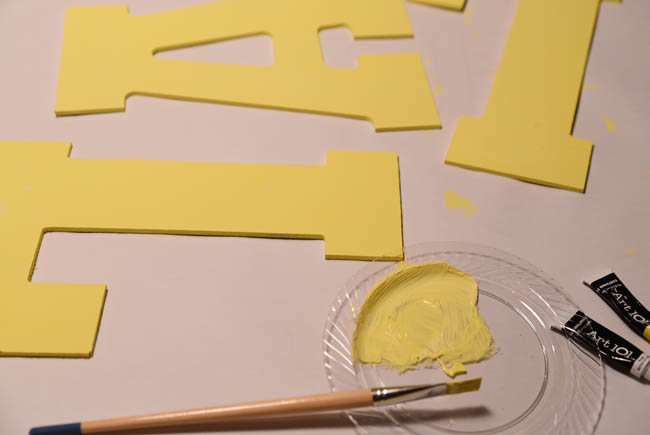 Paint the letters a color of your choosing. You could also leave them white if you wish, but I thought these should be a color since they would be placed on a cream wall.
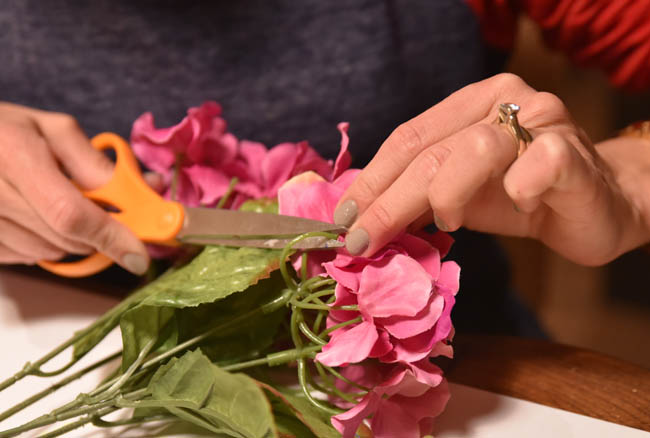 While the paint is drying, snip the blossoms off the stems.
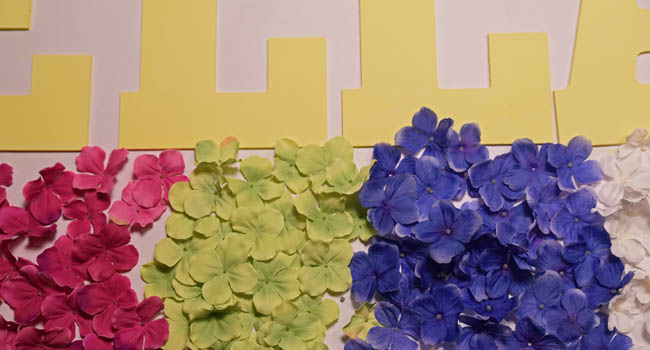
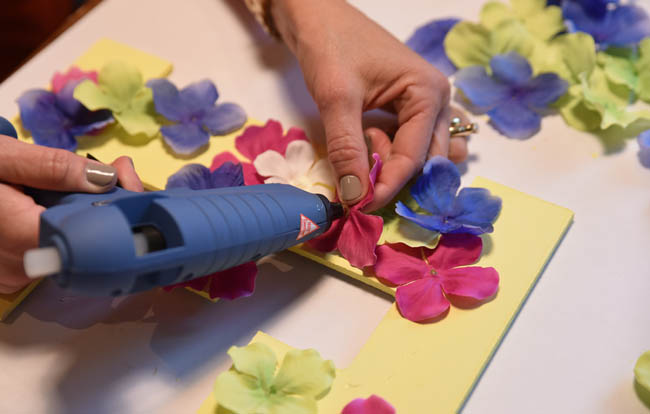 Place a dab of hot glue in the center of the flower, and affix to the letter.
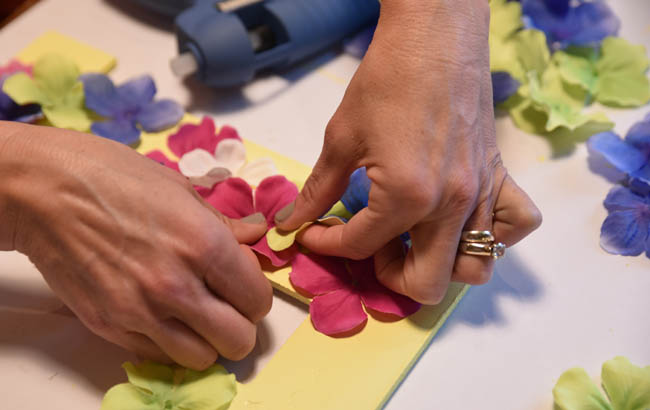 Overlap some petals of the blossoms to add interest and dimension.
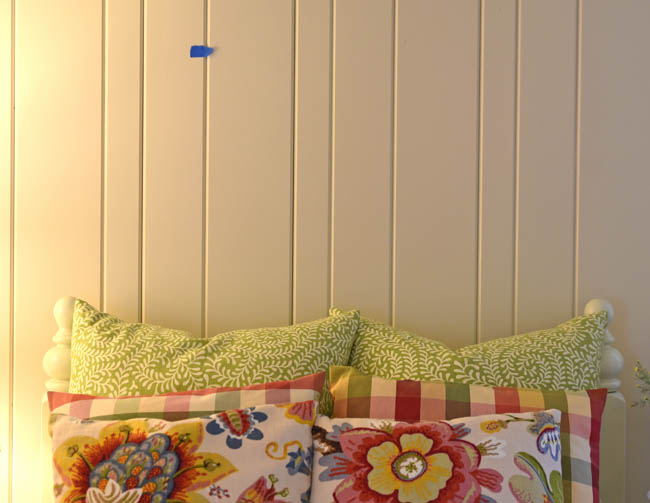 With painters’ tape, mark the spot on the wall where you would like the top of the letter to hit. Remember to have whatever else will be in place under the letters as it will be when finished (for example, if I took the pillows off the bed while finding the placement for the letters, they would end up being too low on the wall in relation to a made bed).
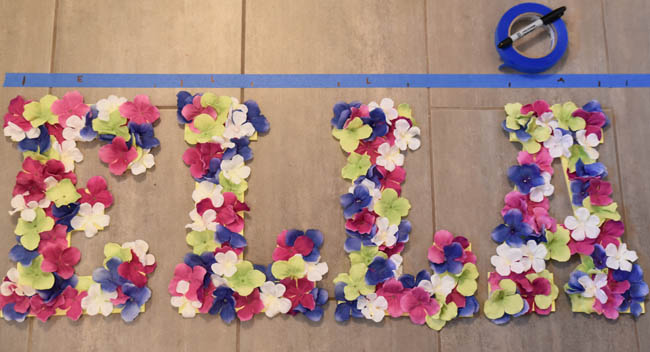 Place the letters on the floor and space out as desired, marking the placement on painters’ tape with a marker.
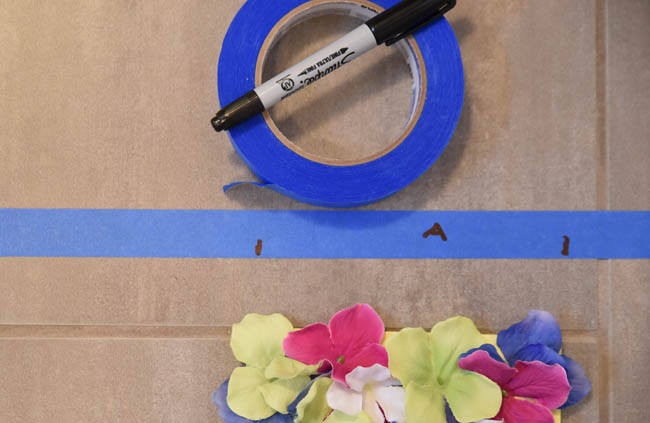
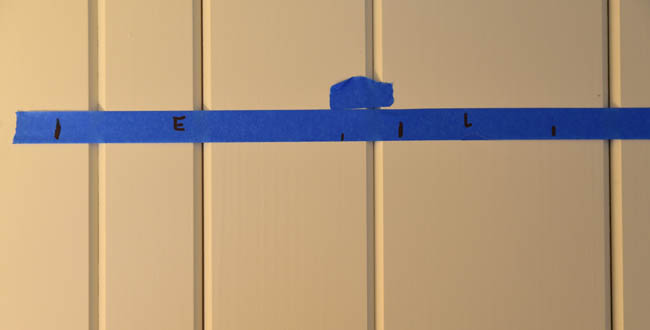 Transfer the tape to the wall, using a level to insure correct placement. Place the tape at the bottom of the marking of where you indicated you would like the top of the letter to hit on the wall.
 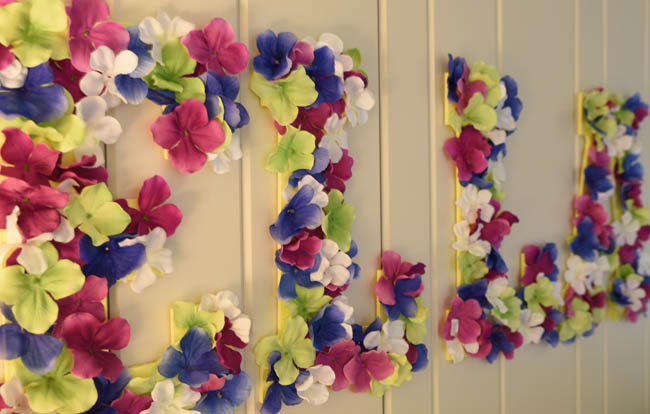 Following the instructions on the back of the 3M Velcro mounting strips, place the letters on the wall.
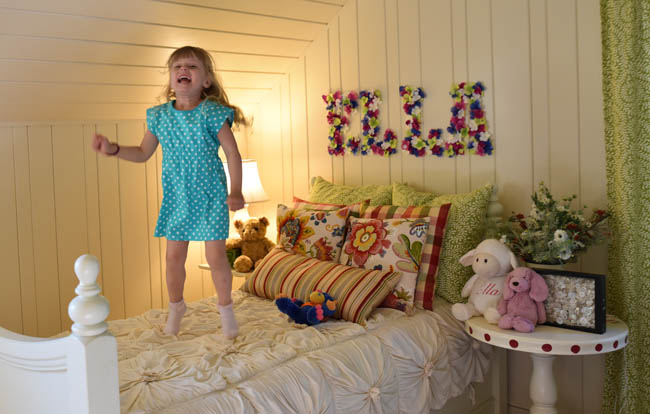 Feel happy and crafty and accomplished as you watch your daughter go bananas.
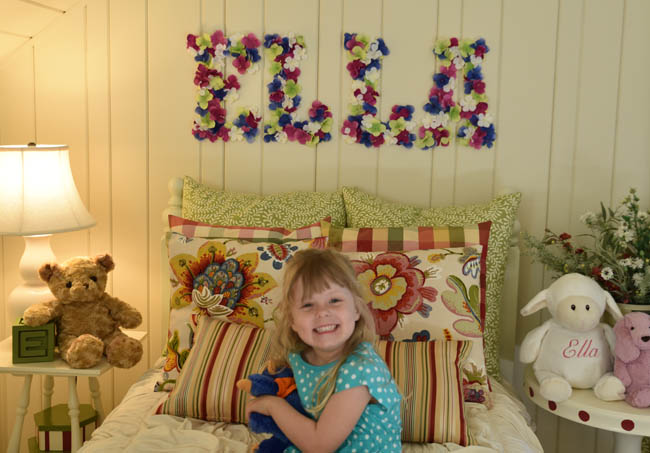 Reality Check. The jury is still out whether these will stay. Ella LOVES them (so that probably answers the question) but I’m a little on the fence. Although I loved how easy the project was and love the result, once in the room the colors were a little more vibrant than I had expected, and I’m obsessing a bit over whether they are exactly level (difficult to tell with the petals overlapping the edges of the letters). I will wait until I pull the room completely together before I make the final call and presume by that time (1) they will have grown on me and (2) there will be no convincing Ella to put something else in their place.

Angela
May 12, 2015 at 4:22 pm (10 years ago)I love it! Ellie and I are going to try this in her room with a tween theme. You are sooo talented!
Kerry
May 12, 2015 at 8:50 pm (10 years ago)Aww, thanks Angela! Most things I try in Ella’s room I intend (or hope!) will last for many years! ( :