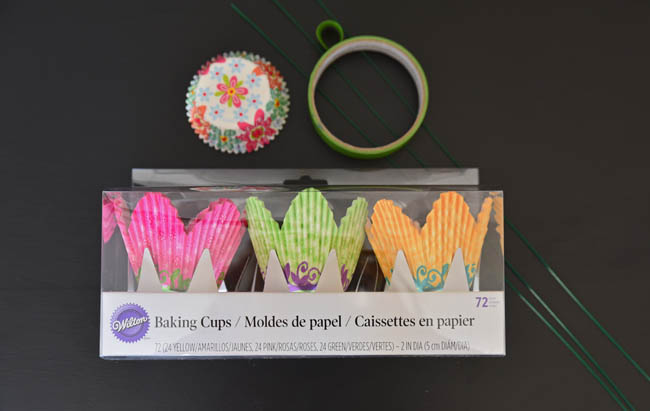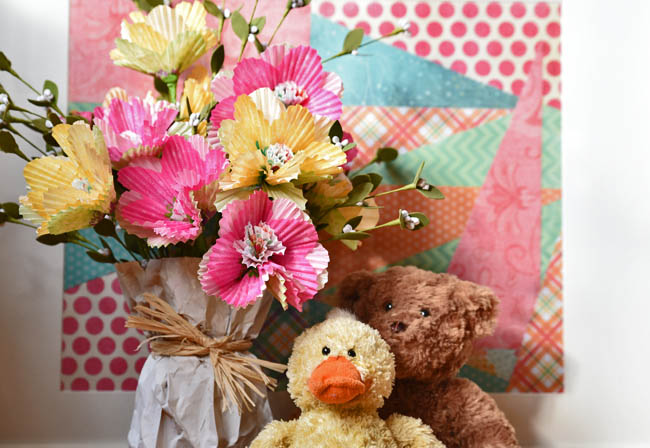
Materials include: scalloped baking cups, regular baking cups, scissors, stem wire and Frog Tape (similar to painters’ tape, but great for its green color).
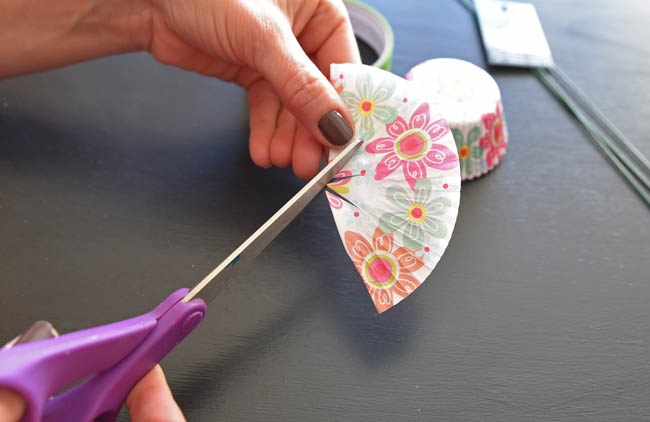 Step 1: Fold one of the regular cupcake wrappers in half and make three small cuts at the base of the wrapper.
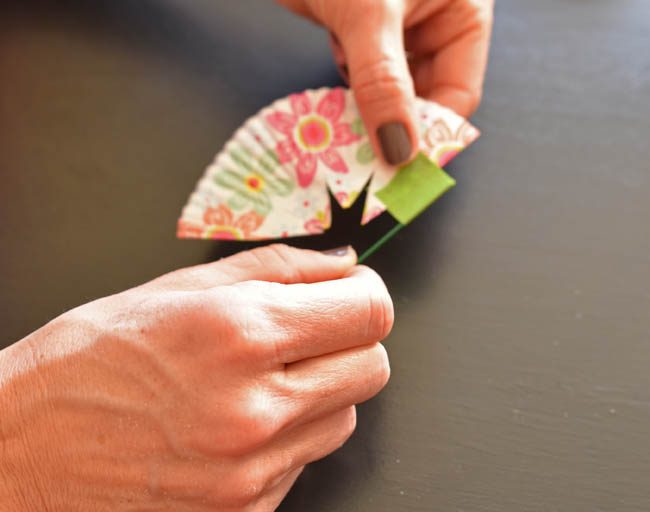 Step 2: Cut or rip several one-inch pieces of tape and set aside (I generally just stick them on the end of the table, so they are easy to grab with one hand). Take the first piece and stick on the edge of the wrapper, folding over the stem wire, which should be about 1/4 of an inch to the outside of the edge of the wrapper.
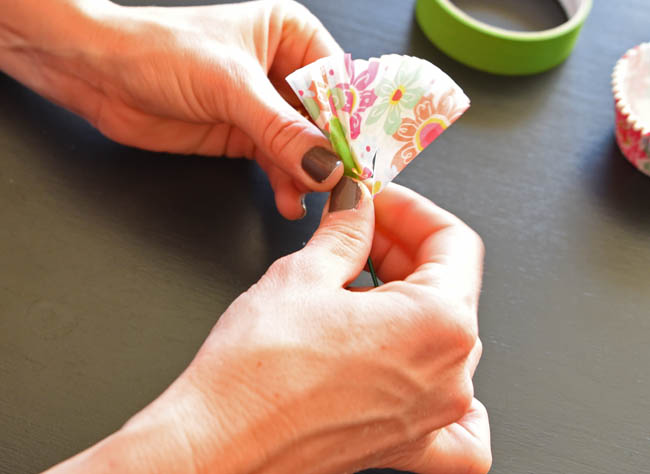 Step 3: Pinch the bottom of the cupcake wrapper and twist the stem wire toward the center, wrapping and pinching the cupcake wrapper as you go.
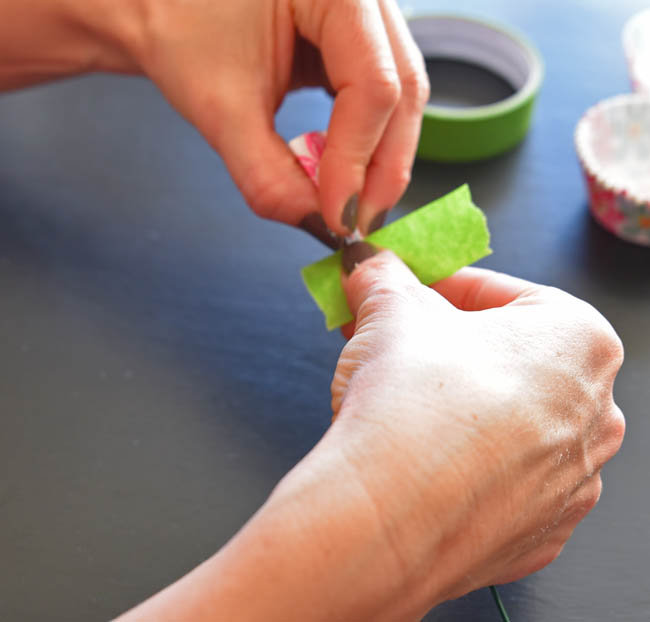 Step 4: When finished rolling the wire into the paper, pinch the bottom and adhere the paper to the wire using one of the strips of tape. Be sure that the tape overlaps both the paper and the wire.
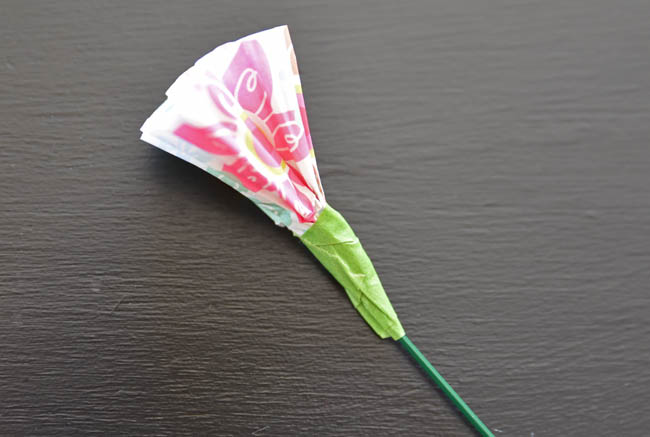 The finished “center” of the flower.
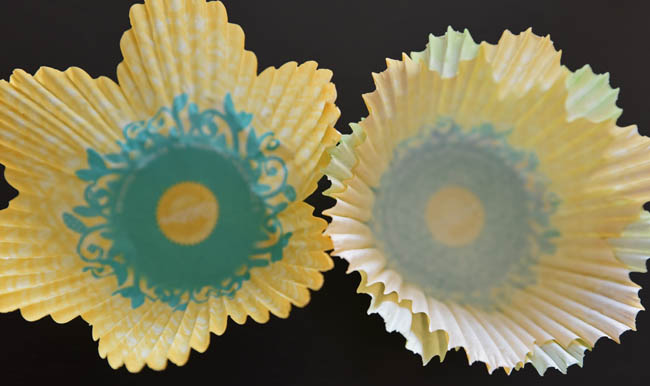 Step 5: For the outer pedals, place two scalloped cupcake wrappers together, with the printed side facing down. Take a third wrapper and flip inside out so the printed side is on top. Stack inside the other two. Line them up so that the scalloped edges are not centered on one another, so as to add more interest.
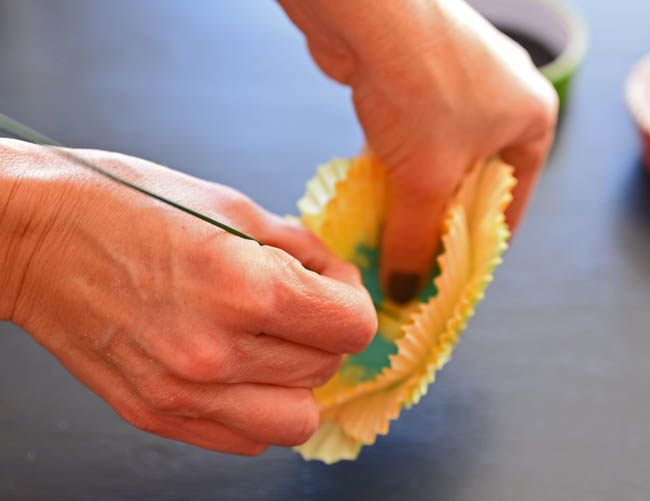 Step 6: Poke the end of the stem through the center of the three scalloped cupcake wrappers.
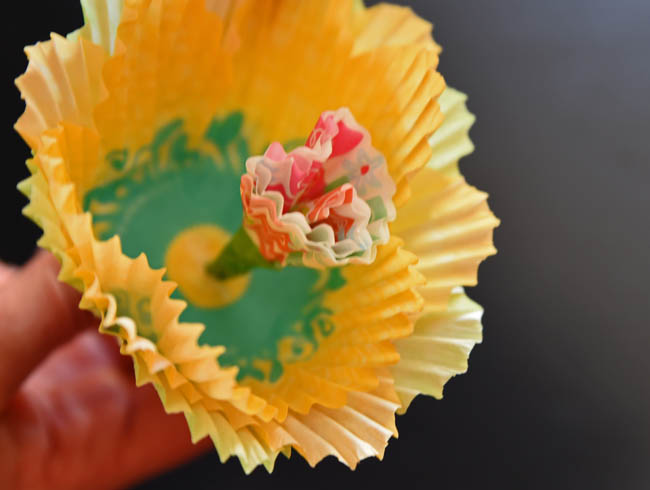 Step 7: Stop pulling through when you get to the edge of the tape on the center blossom.
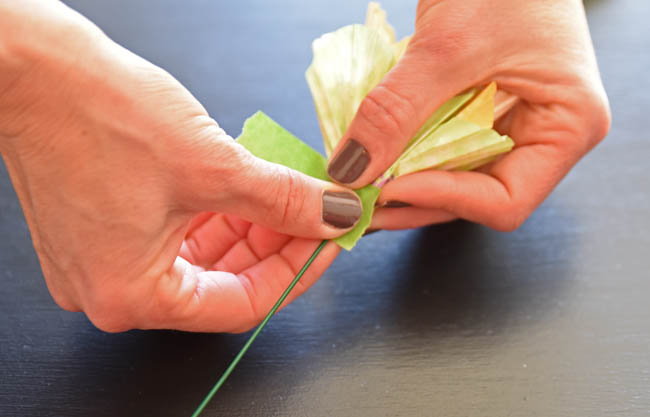 Step 8: As in Step 4, pinch the bottom of the three wrappers and adhere the paper to the wire using a piece of tape. Be sure that the tape overlaps both the paper and the wire. Separate the papers a bit, and the flower is done!
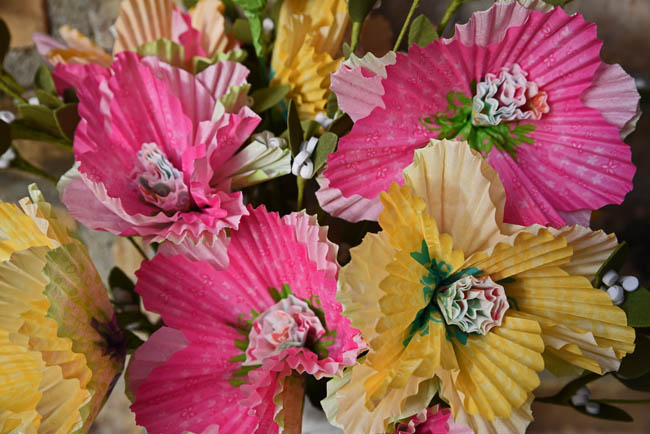 Reality Check: There is no way I would have been able to write these instructions for this post without carefully examining the pictures we took. I promise it is easy, but there are definitely more than a few steps involved.

