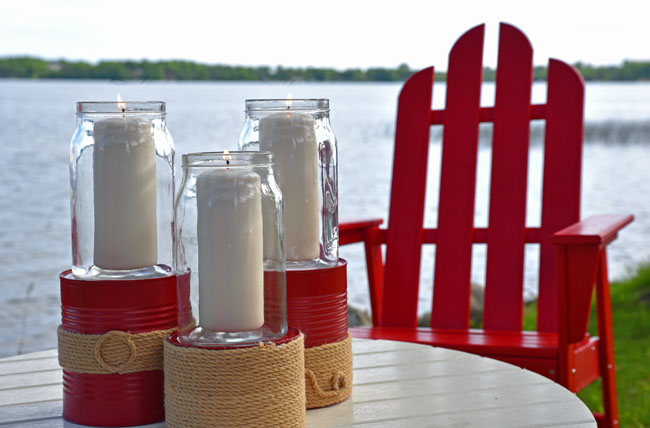
At least a few times a week a magazine arrives at our front door with a beautiful “Outdoor Living” spread displayed on the front cover. I’m always tempted to hop online to get the lovely lanterns, fabulous fire pits, dreamy daybeds, etc. to complete an outdoor oasis (especially at the cabin), but know that I neither have the budget to purchase nor the time to maintain those kinds of items. I do use the pictures, however, as inspiration for ways that I can mimic the look for a lot less. I love how these rope wrapped candle holders turned out, and you can’t beat the price of just a few dollars each. Materials and simple instructions below.
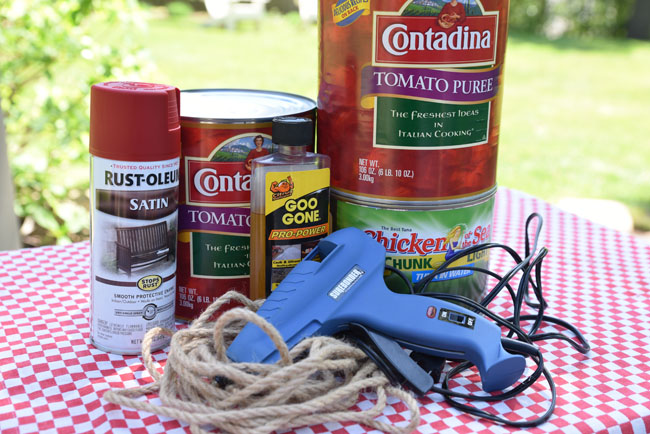 Materials: Large cans (these are sort of ridiculously large – I mean, have a look at that can of tuna! – and necessitate a trip to Costco or somewhere similar, but smaller sizes would work as well); rope (I got mine at Michael’s); Goo Gone to remove the labels; and spray paint if you’d like the cans to be a color, although the galvanized look is great as well.
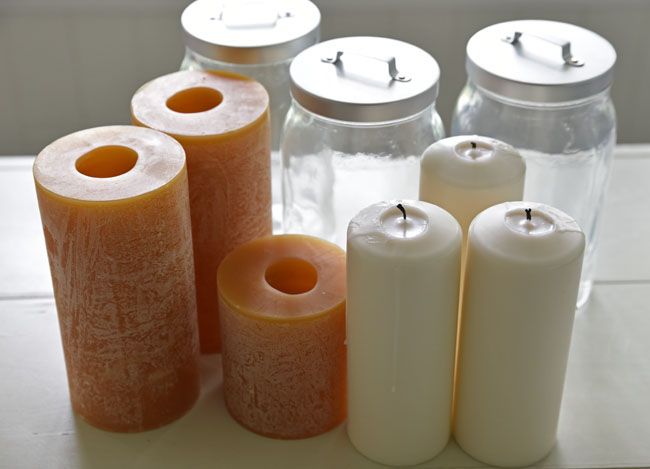 As you’ll see from the pictures below, I use the candle holders inside with regular large candles (the caramel colored ones), as well as outside with smaller candles (the white ones, from Ikea) in hurricanes fashioned out of inexpensive jars, also from Ikea. There is a bit of a curve on the bottom of the jar which makes it less than ideal, but worth the hassle for the price.
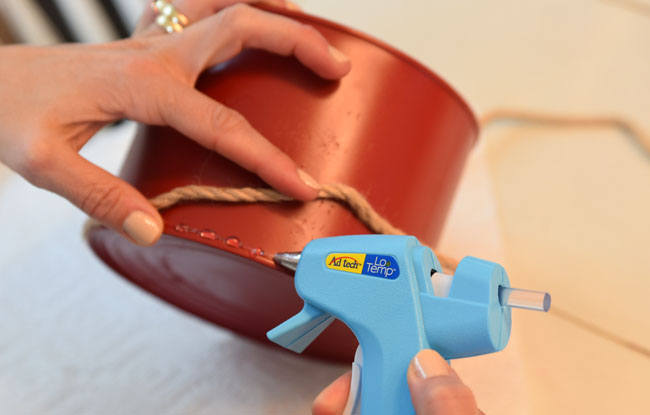 Remove the labels from the cans and give them a coat of spray paint if you’d like to have a different look than the silver material of the can. I didn’t empty the cans of their contents because I wanted to have the heft – particularly when using outside in sometimes windy conditions. Of course that means that these won’t last forever – that problem is solved if you empty the cans and have the open end at the base. Starting at the base of the can, place dabs of glue and secure the rope, repeating as you wrap the can. For the small one, I wrapped the entire can, but did different variations on the two others (primarily because I knew I would run out of rope!).
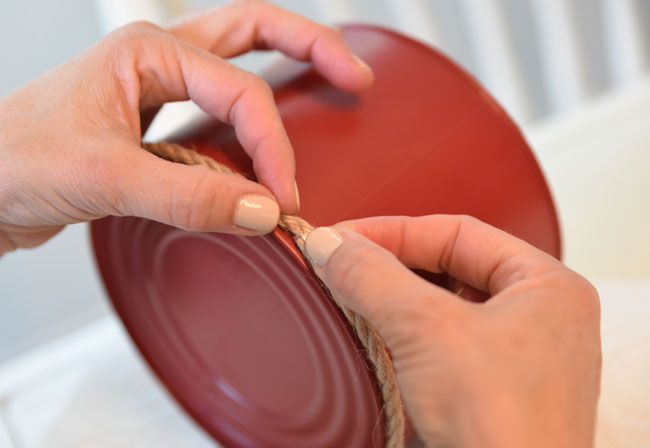 Make sure the rope is secured throughout (hold down for a few seconds to let the glue set).
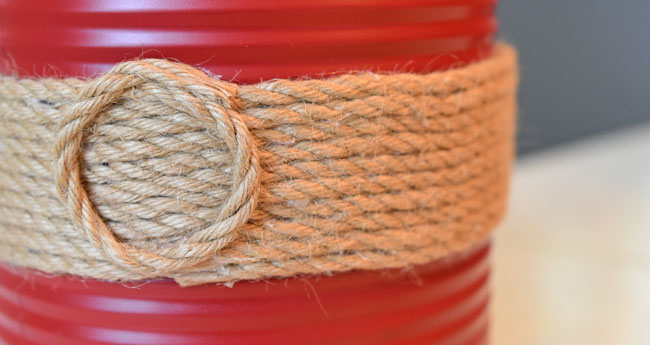 Finish by trimming the rope and securing at the top of the band, or by using a simple design like the circle above.
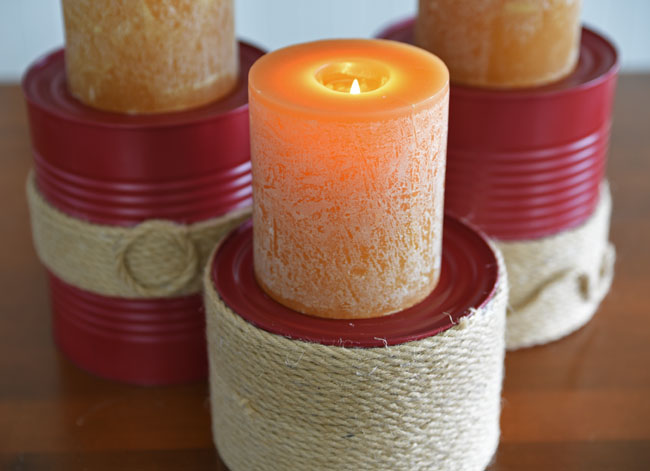
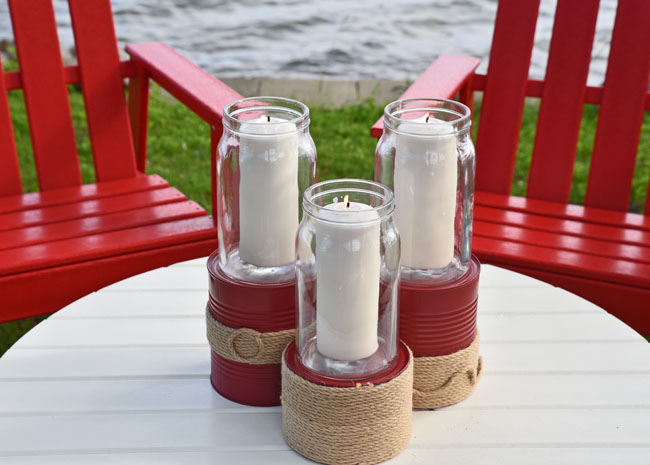 Reality Check. It wasn’t long after I purchased the enormous Costco cans that I realized I would need similarly enormous candles…thus defeating any goal of keeping this project inexpensive (man, candles are expensive!). The large caramel color ones I happened to have at my house already, but for the hurricane look I was able to find the candles and the glasses for just a few dollars each at Ikea.

Lisa
June 12, 2015 at 7:32 am (10 years ago)Super cool and easy project! Good idea to use cans as is for weight. Thanks for sharing!
Kerry
June 14, 2015 at 10:57 pm (10 years ago)You’re welcome, Lisa! So glad you like them!